Label
Button
To do this follow these instructions:
1) Open your project
2) Have the form design selected
3) From the toolbox click on the label icon
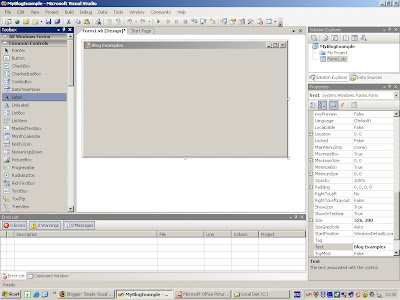
4) Hold mouse button down and drag the label to the form
5) Place the label wherever you want the text to start and expand to the right
6) Do the same for a button, drag it onto the form
7) You can place it above or below the label if you want, it is not too critical at this time where it is, as long as it is not in line with label's potential length of text you are going to display.
8) As you done with the form click the label and make sure you see the default name of the label in the property drop down list (Label1)
9) Go to the properties list and change the name to lbl1. This is not necessary but it helps to shorten the name you have to type in code to refer to the label, and it is a quite well used naming convention for a label.
Then set the button properties:
1) Click on the button in the form
2) Go to the properties
3) Change Name property to btn1
4) Change the Text property to "Populate Label"
5) Save your changes
6) Depending on the amount of text in the button text property you might need to expand the button width. this is easy as all you need to do is highlight the button and drag one of the highlight points to the side.
Then alter the Runtime Code:
1) In the form design right click on the form and select View Code
You will see the following code window:
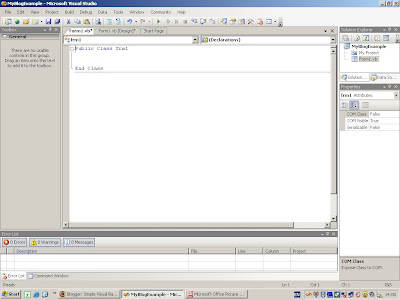
In this window you will see two drop down boxes at the top of this window. The left drop down shows the class form and associated controls, the right drop down shows the events of that control.
2) From this drop down list pick the btn1 item.
3) From the right hand list you can pick the associated event for this control. from the right list pick Click event. When you do this you will see a bit of code being put into the main code window called private sub btn1_Click(with system variables).
4) Between private sub and End Sub type your code. See shot below:

5) The first thing you want to do when you click the button is make sure the label does not have any default text floating about in it. To clear the label1 (lbl1) type this piece of code in where instructed:
lbl1.Text = "" ' You are making sure the text in the label is empty
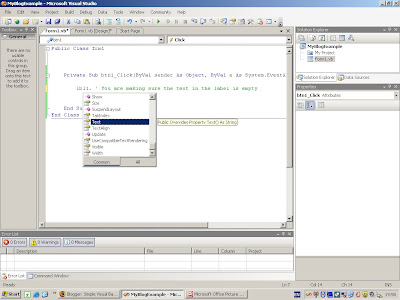
Note: As you type the (.) i.e. lbl1. you will get a list of suggestions as you type, in this case pick Text. See screenshot showing suggested text and code:
Intellisense code suggestions:
6) Save the changes
7) Now to do a quick unit test. Run the form using the debug > Start debuging option from the menu.
You will see the form come up as below. Click the button and you will see the label text being cleared.
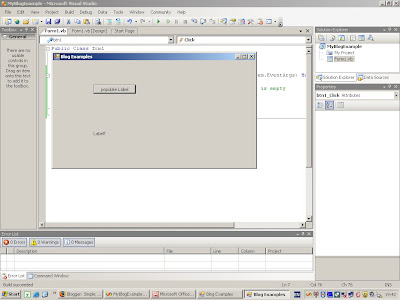
This is really to demonstrate that you should include this line of code anytime you are populating a label in case you are using different messages in it and there is text left in it from a previous operation. Once the button is cleared you will see this:
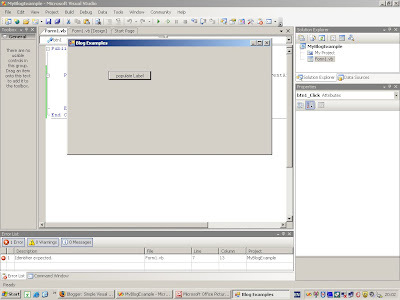
Or instead if I put this in the code:
lbl1.Text = "Label Cleared...."
you will see:
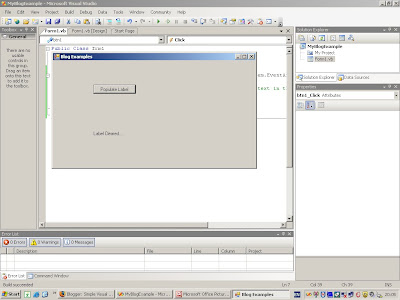
there are a few option open to you depending on your circumstances:
a) Clear the label text when the form loads
b) Clear it between operations
c) Clear it manually so it is always empty
Option C is probably the most convenient but remember when you remove the text the label will minimize and you will not see it on the form design and it is very hard to find if you want to move it about on the form design. You can probably now think how this operation can be utilised in other circumstances too. these uses will all make more sense when you start coding more. Just now it seems a bit over the top what you can do with the properties. My own preference is option A.
You can put text back into it manually through the properties list to temporarily find it.
No comments:
Post a Comment