Note: Click on the screen shot to see bigger version but click back on your browser when finished with the larger version to get back here otherwise you will close the blog completely.
After creating new project and selecting ok:
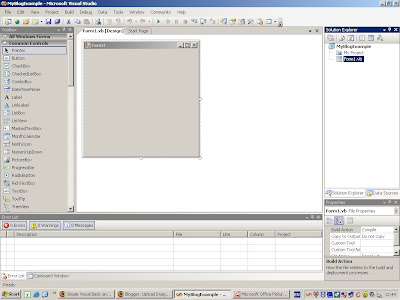
The first thing to do is to name the form and give it a heading. Something I must emphasise is when you are working in a design environment such as this and you want to change the properties of a button or a textbox or a form you must select the item you want to change the properties of. It is not the first time I have went changing properties of a button only to find I am changing the form properties.
Ideally do the changes you think you need to the control as you create the controls on the form. On the right hand side of the page you will see a frame split into two called the solution explorer and then a properties section roughly half way down the frame. You can expand this properties frame up and out if you want to see more.
Again double check the name of the control by checking the name in the text box below where it says properties so if you are working on the form it should say form1 system.windows.forms.form. You can see this highlighted in the screenshot that it says form1 then the class reference 'system.windows.forms.form'.
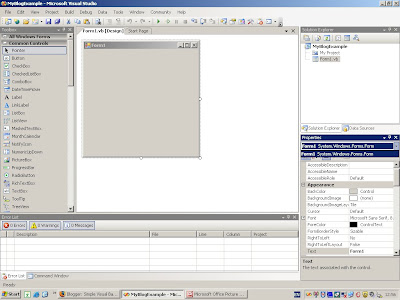
So lets name the form and give it an appropriate heading:
1) Click once on the form to make sure it is highlighted
2) Check it says 'Form1 System.Windows.Forms.Form' in the drop down box just below where it says 'Properties'. In general ignore this bit (System.Windows.Forms.Form) you just need to see the main name at the start i.e. Form1.
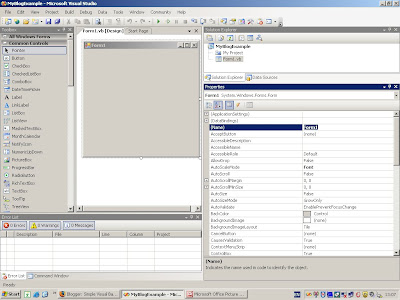
3) In properties (right hand side of IDE ujst below where it says 'Properties') you will see an icon/button with a down arrow and an A > Z identifier. If you click on this it will sort all the properties into alphabetical order.
4) Then at the top of all the properties you will see a (Name) property with a value of 'Form1'. This is the system name you will give the form. Note the property names on the left are just the names and the actual values are on the right hand side of the properties list. You might like to note that although the properties will be listed in A > Z order the 'Name' property is right near the top (in the 'A' section) because this is usually what is changed first by designers.
So if you intend to call this form in code you will say Form1.Call.doThis because the name is 'form1'
It is up to you what you call the form but a good naming convention for forms is frm1, frm2 etc or you can call it something specific if it is going to do something like get customer details you could call it:
getCusDets
So for now lets call it frm1
5) In the properties change the value in the right hand column from 'Form1' to 'frm1'. This property can be seen highlighted in the shot below.
Now change it to 'frm1':
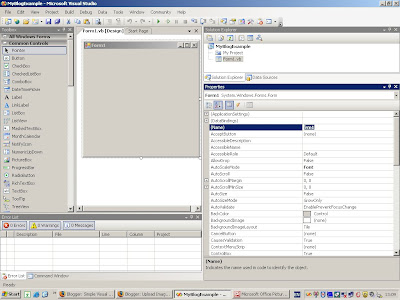
6) Once you have done this you can change the form's 'Text' value, that is the text you see at the top left of the form and it is what a user would read to understand what the form's purpose is. So if this form was to get customer details you would set the text to 'Get Customer Details'. So lets call the form 'Blog Examples'.
Find the Text Value in the Properties:
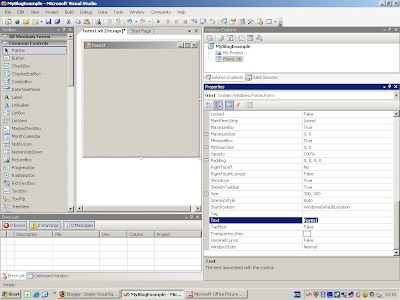
Change it to 'Blog Examples'
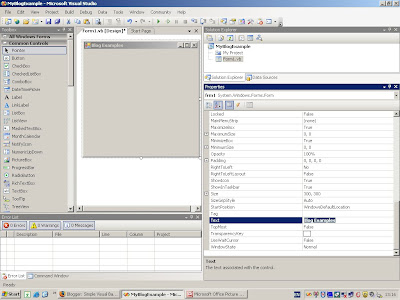
Now you might notice that when you change the value in the properties value that it still says 'form1' in the design window form. To have this change you will need to click out of the properties box and you will then see the property at the top of the form change to what you set it to.
Now that is the main bits of the form design and property settings you need to concern yourself with when creating a simple Windows application. Of course these properties can be set in code as well but that will be covered as and when needed.
No comments:
Post a Comment